Tips and tricks
Linux
Kill zombie processes in Linux
Check zombie processes with the top command
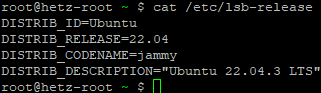
Check Linux distrubtion
Linux command and output
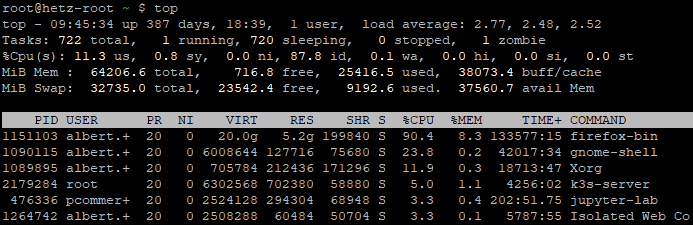
Check amount of zombie processes with the top command (see second line below)

top - 09:38:14 up 387 days, 18:32,  1 user,  load average: 2.12, 2.38, 2.57
Tasks: 717 total,   2 running, 714 sleeping,   0 stopped,   1 zombie
%Cpu(s): 19.6 us,  1.2 sy,  0.0 ni, 79.2 id,  0.1 wa,  0.0 hi,  0.0 si,  0.0 st

########################################################

Find the zombie processes

root@hetz-root ~ $ ps -A -ostat,pid,ppid | grep -e '[zZ]'
Zs   3379981 2279581

root@hetz-root ~ $ ps -ef | grep 2279581

5050     2279581 2279435  0 Mar19 ?        00:46:55 /venv/bin/python3 /venv/bin/gunicorn --limit-request-line 8190 --timeout 86400 --bind [::]:80 -w 1 --threads 25 --access-logfile - -c gunicorn_config.py run_pgadmin:app
5050     3379981 2279581  0 Sep02 ?        00:00:00 [python3] <defunct>

---------------------------

root@hetz-root ~ $ ps -ef | grep 3379981 | grep -v grep
5050     3379981 2279581  0 Sep02 ?        00:00:00 [python3] <defunct>

########################################################

Kill the zombie process

root@hetz-root ~ $ kill -9 2279581
root@hetz-root ~ $ ps -ef | grep 3379981 | grep -v grep
root@hetz-root ~ $ ps -A -ostat,pid,ppid | grep -e '[zZ]'

########################################################

Check for zombie processes again

top - 09:47:10 up 387 days, 18:41,  1 user,  load average: 2.64, 2.50, 2.52
Tasks: 712 total,   1 running, 711 sleeping,   0 stopped,   0 zombie
%Cpu(s): 10.8 us,  1.9 sy,  0.0 ni, 87.3 id,  0.0 wa,  0.0 hi,  0.0 si,  0.0 st
Links:
https://www.linuxjournal.com/content/how-kill-zombie-processes-linux
https://www.baeldung.com/linux/clean-zombie-process
Hetzner API
Hetzner API calls (CLI)
Using the Hetzner Robot API from the Linux Command Line
Hetzner’s Robot API lets you access server information programmatically, such as your server list, IPs, and status. While it’s easy to view this data in the web interface, calling the same API from the command line requires a small but important setup.
This article shows how to authenticate correctly and get clean JSON output using curl and jq.
1. Robot API authentication (important!)
The Hetzner Robot API does not use your normal web login password.
Instead, you must create separate API credentials:
-
Log in to the Hetzner Robot interface
-
Go to Settings → Webservice / API
-
Create a Webservice user
-
Save the generated username and password (shown only once)
These credentials are used for all API calls.
2. Calling the API with curl
Once you have API credentials, you can query the server list:
This returns a JSON array containing your servers and their metadata.
3. Removing curl’s progress output
If you pipe the output to jq, you may see extra lines like transfer statistics.
This is curl’s progress meter, not HTTP headers.
To suppress it, use silent mode:
Recommended for scripts (silent, but still shows errors):
4. Extracting specific fields with jq
For example, to show only the server name and IP address:
This produces clean, minimal JSON suitable for automation or monitoring.
Conclusion
-
Use Robot API credentials, not your Hetzner web login
-
Add
-sor-sSto remove curl’s progress output -
Pipe responses into
jqfor clean parsing -
Perfect for scripts, cron jobs, and infrastructure tooling
That’s all you need to start working with the Hetzner Robot API from the command line
More documentation:
https://robot.hetzner.com/doc/webservice/en.html#server
mailserver
poste mailserver (poste.io)
Fix error 500 issue when adding users on poste mailserver
Issue: HTTP 500 Error on User Creation (Poste.io v2.3.10)
The Problem
When attempting to create a new email account via the Poste.io administration panel, the system returned an HTTP 500 Internal Server Error.
The Root Cause (verified)
The failure was a database schema integrity violation within the SQLite backend. Specifically:
-
Database File:
users.db -
The Error:
NOT NULL constraint failed: users.internalOnly -
The Conflict: The database schema for the
userstable required a value for theinternalOnlycolumn (set toNOT NULL). However, the web administration form in version 2.3.10 was not sending a value for this field during theINSERToperation. Because no default value was defined in the schema, the database rejected the transaction, crashing the PHP process.
The Solution
The issue was resolved by manually altering the SQLite database schema to provide a default value for the problematic column. This allows the database to accept the form submission even when the internalOnly flag is missing.
Step-by-Step Resolution:
-
Located the correct database: Identified
users.dbin the/datadirectory as the host of theuserstable. -
Modified the Schema: Performed a table reconstruction to add a
DEFAULTconstraint:-
Created a temporary table with the correct schema:
internalOnly BOOLEAN NOT NULL DEFAULT 0. -
Migrated all existing user data to the new structure.
-
Restored the original table name and all associated indexes (
IDX_1483A5E98DFE9A8,login,search, etc.).
-
-
Result: The "Submit" action now succeeds because the database automatically populates the
internalOnlyfield with0when the application fails to provide it.
The screen will look like this after successfully adding the user
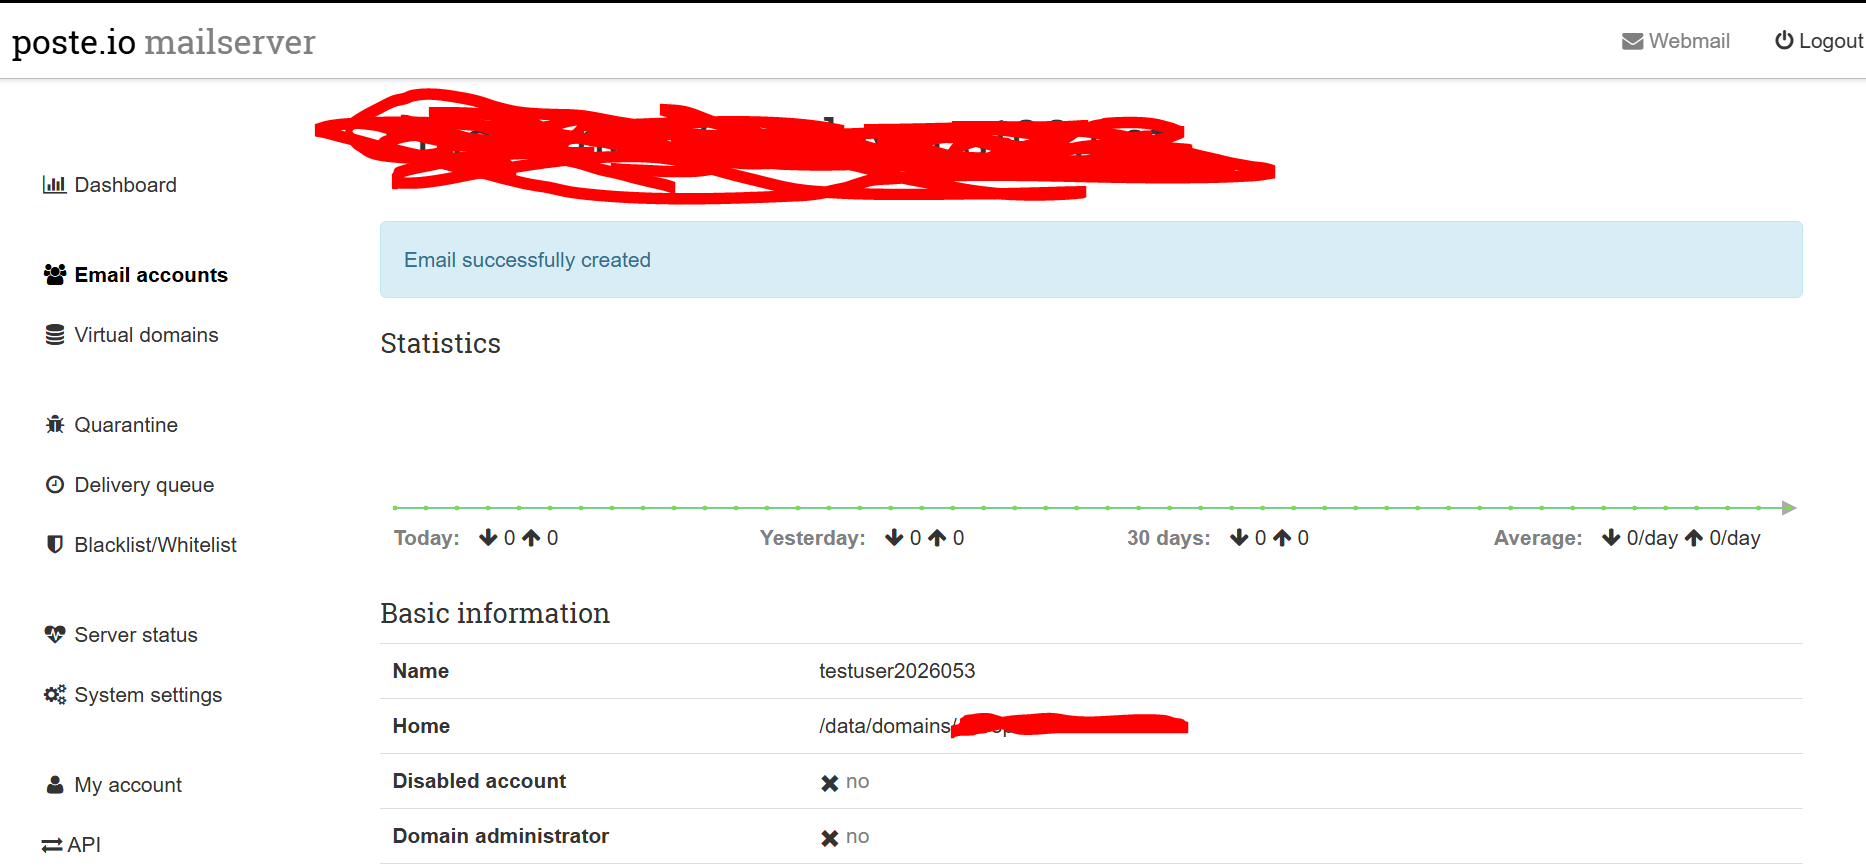
Note: No service restart was required as SQLite handles schema changes dynamically for new connections